First of all I want to greet to Sergey Kopylov for share his knowledge to build this tutorial. Thank you Sergey!!!
Hardware and Software used
Hardware
- Arduino Uno Rev. 3
- A few buttons, resistors and LEDs
Software
- Arduino IDE v1.0.5
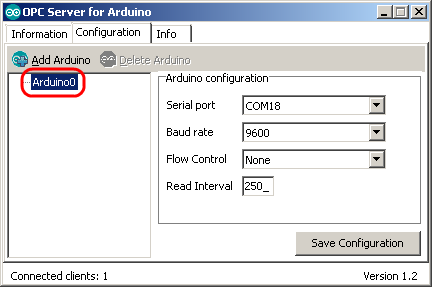
- OPC Server for Arduino v1.3
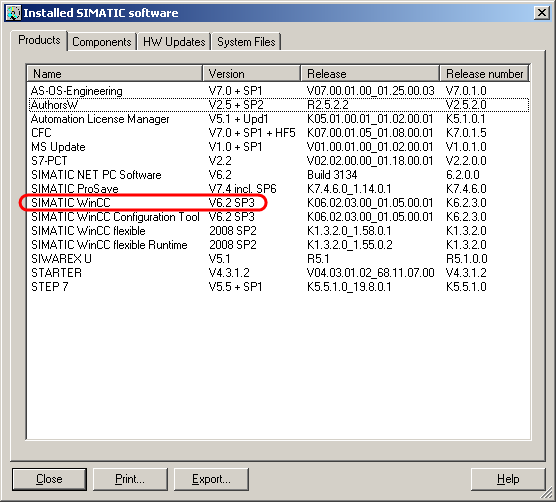
- Simatic WinCC v6.2 sp3
![](https://www.st4makers.com/old/images/arduino_opc_server/how-to/wincc_and_arduino/01.png)
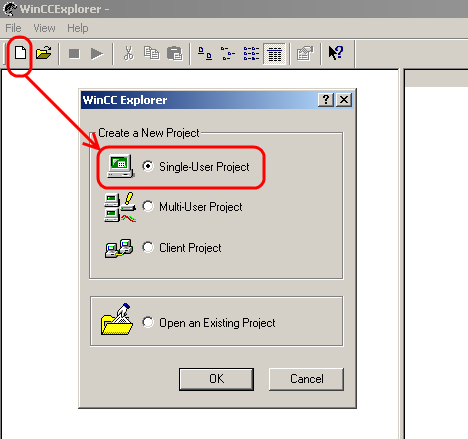
Creating the WinCC Project
![](https://www.st4makers.com/old/images/arduino_opc_server/how-to/wincc_and_arduino/02.png)
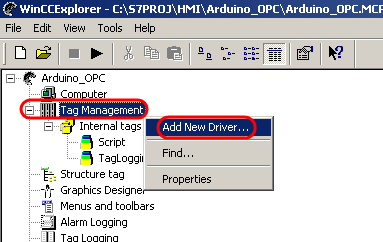
now we need to add the OPC Driver
![](https://www.st4makers.com/old/images/arduino_opc_server/how-to/wincc_and_arduino/03.png)
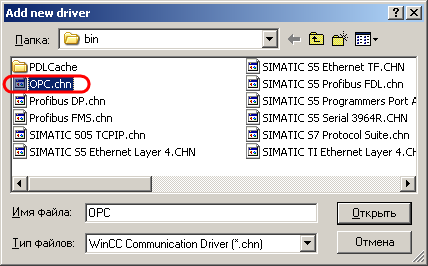
The OPC drivers is provided by WinCC and you can find it in the WinCC “bin” folder
![](https://www.st4makers.com/old/images/arduino_opc_server/how-to/wincc_and_arduino/04.png)
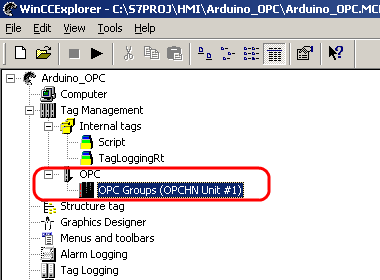
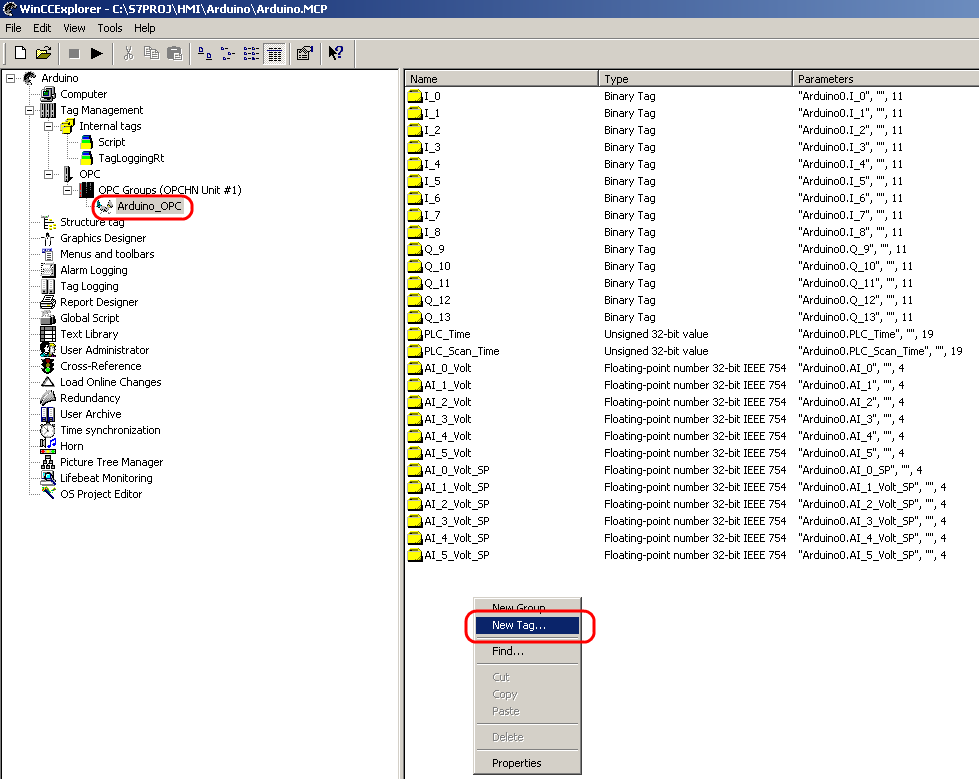
A new OPC Group will be created in the “Tag Management”
![](https://www.st4makers.com/old/images/arduino_opc_server/how-to/wincc_and_arduino/05.png)
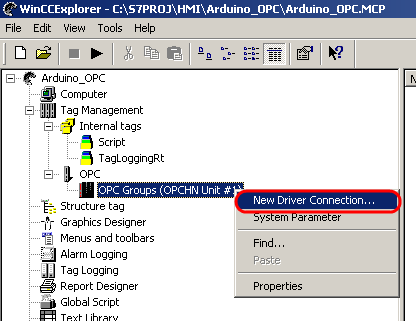
Now is time to create a “New Driver Connection” in the OPC Groups
![](https://www.st4makers.com/old/images/arduino_opc_server/how-to/wincc_and_arduino/06.png)
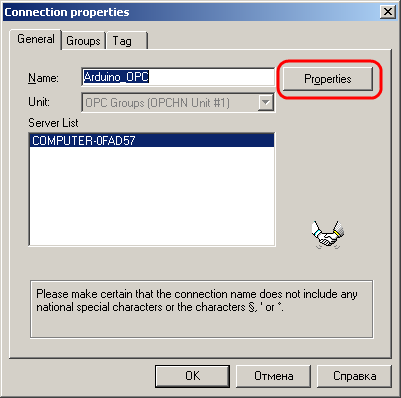
Now we must to confgure Connection Properties
![](https://www.st4makers.com/old/images/arduino_opc_server/how-to/wincc_and_arduino/07.png)
![](https://www.st4makers.com/old/images/arduino_opc_server/how-to/wincc_and_arduino/08.png)
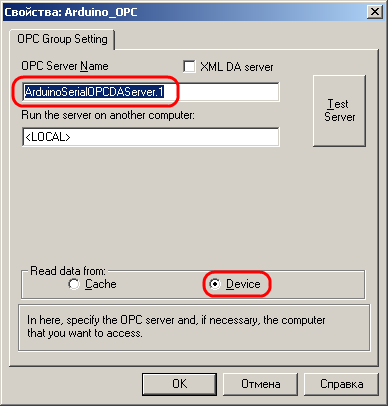
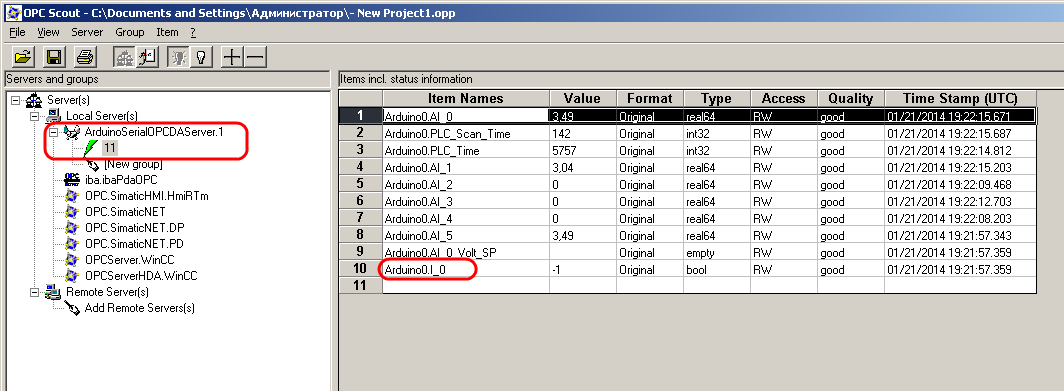
Select the ArduinoSerialOPCDAServer.1 from the OPC Scout
![](https://www.st4makers.com/old/images/arduino_opc_server/how-to/wincc_and_arduino/09.png)
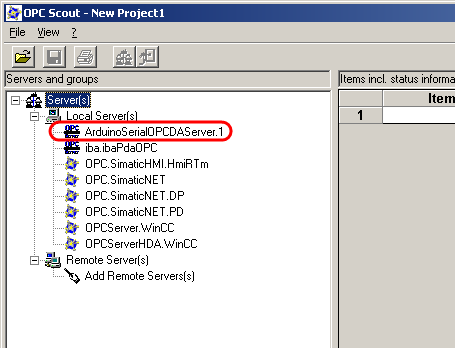
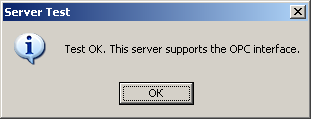
Yo can press “Test Server” button to test if all is ok
![](https://www.st4makers.com/old/images/arduino_opc_server/how-to/wincc_and_arduino/10.png)
And now you can add new tags inside the Arduino_OPC connection
![](https://www.st4makers.com/old/images/arduino_opc_server/how-to/wincc_and_arduino/11.png)
Binary tag creation
![](https://www.st4makers.com/old/images/arduino_opc_server/how-to/wincc_and_arduino/12.png)
![](https://www.st4makers.com/old/images/arduino_opc_server/how-to/wincc_and_arduino/13.png)
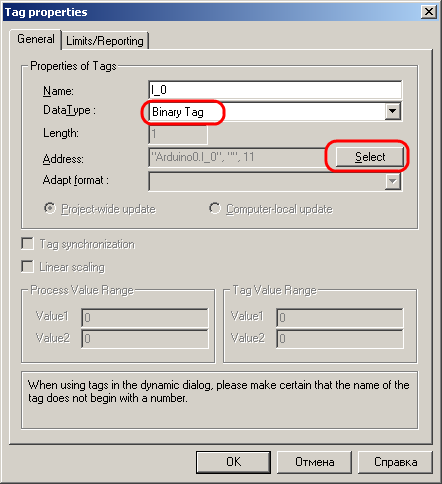
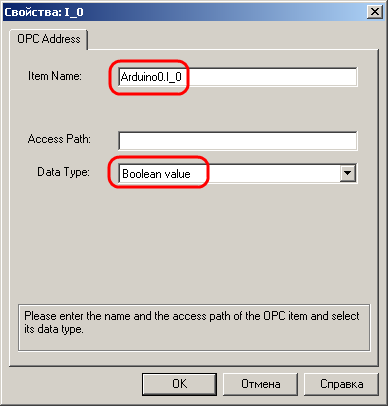
I found the Item Name with the OPC Scout
![](https://www.st4makers.com/old/images/arduino_opc_server/how-to/wincc_and_arduino/14.png)
This name contains the Arduino Name in the OPC Server for Arduino and the Item name in your Arduino Sketch (in my case “I_0”)
![](https://www.st4makers.com/old/images/arduino_opc_server/how-to/wincc_and_arduino/15.png)
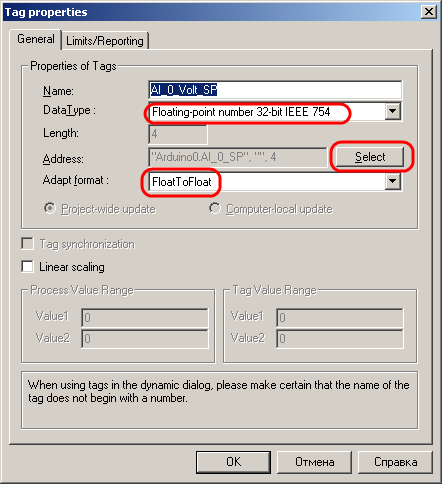
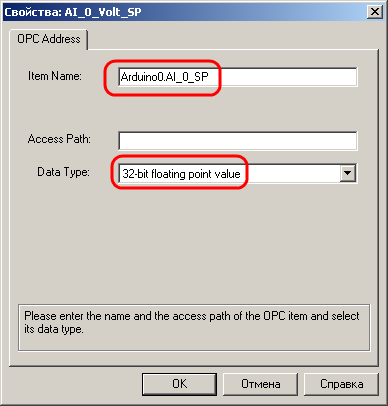
Floating-point tag creation
![](https://www.st4makers.com/old/images/arduino_opc_server/how-to/wincc_and_arduino/16.png)
![](https://www.st4makers.com/old/images/arduino_opc_server/how-to/wincc_and_arduino/17.png)
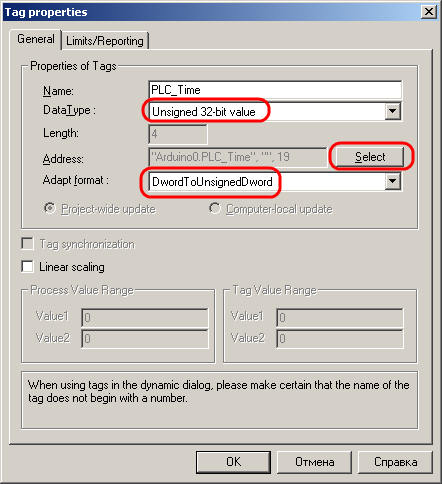
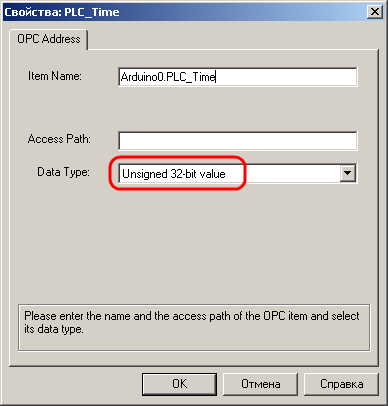
Unsigned integer tag creation
![](https://www.st4makers.com/old/images/arduino_opc_server/how-to/wincc_and_arduino/18.png)
![](https://www.st4makers.com/old/images/arduino_opc_server/how-to/wincc_and_arduino/19.png)
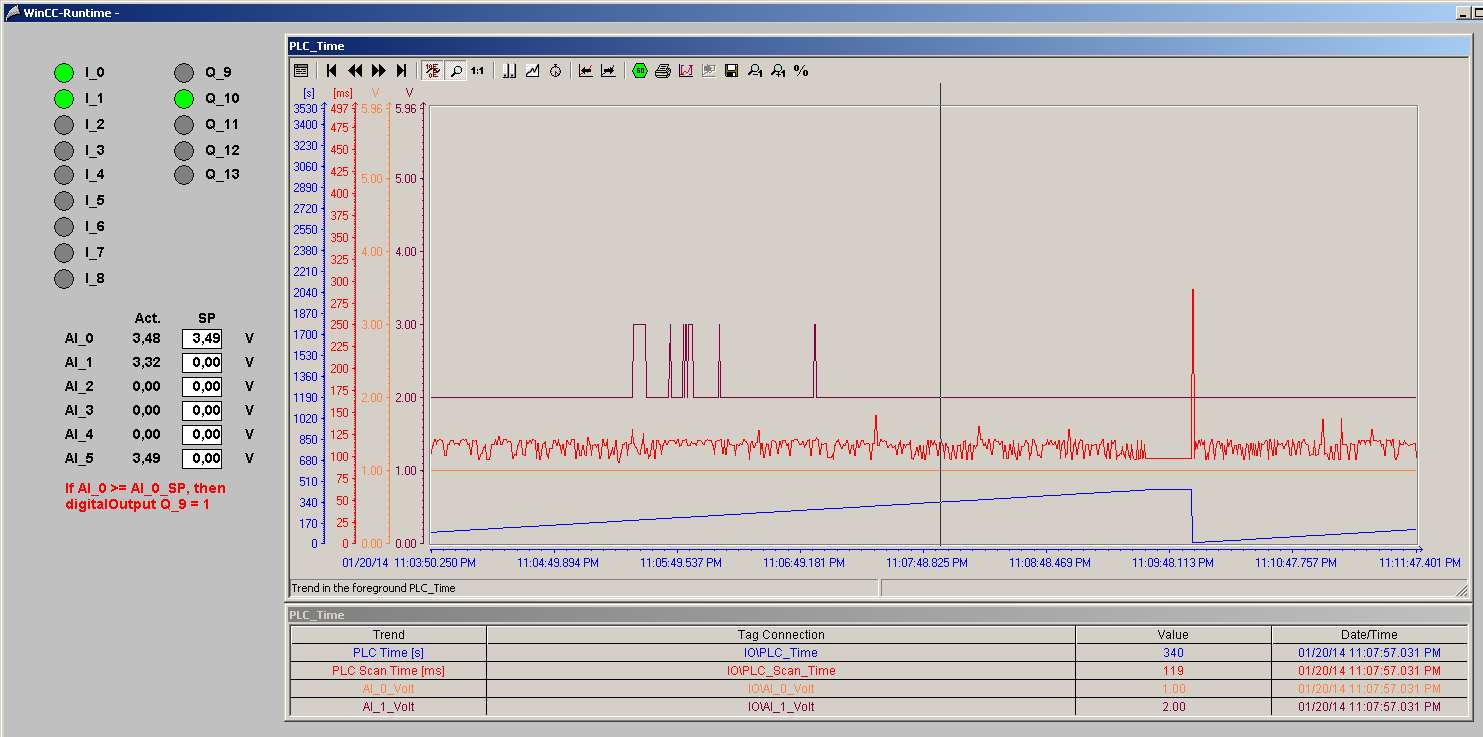
With all tags created you can design the forms with the Graphics Designer
![](https://www.st4makers.com/old/images/arduino_opc_server/how-to/wincc_and_arduino/20.png)
If interesed, you can download the sketch used in this project here
Sergey Kopylov
Colaborator