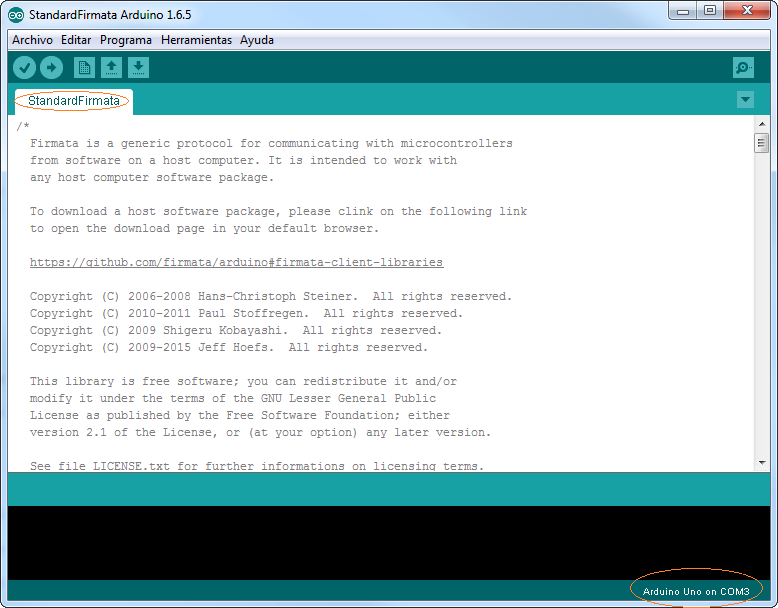
First of all you should upload the StandardFirmata Arduino sketch using the Arduino IDE
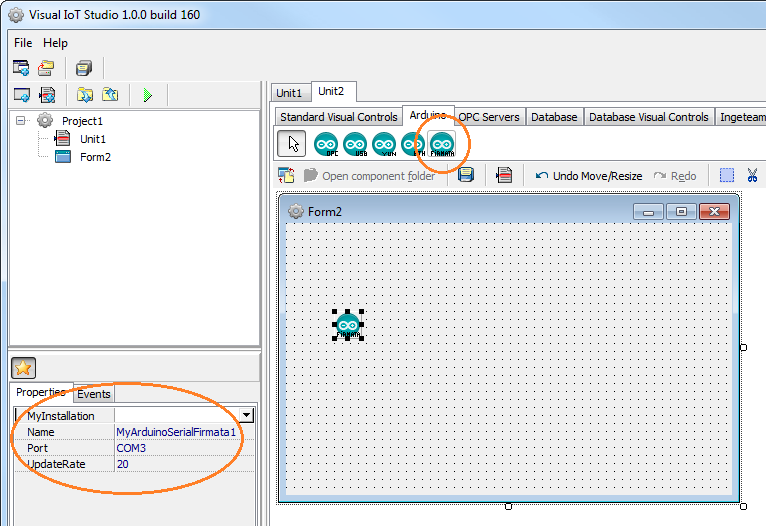
Open Visual IoT Studio and add the Arduino Firmata component. Set the COM port and update rate.
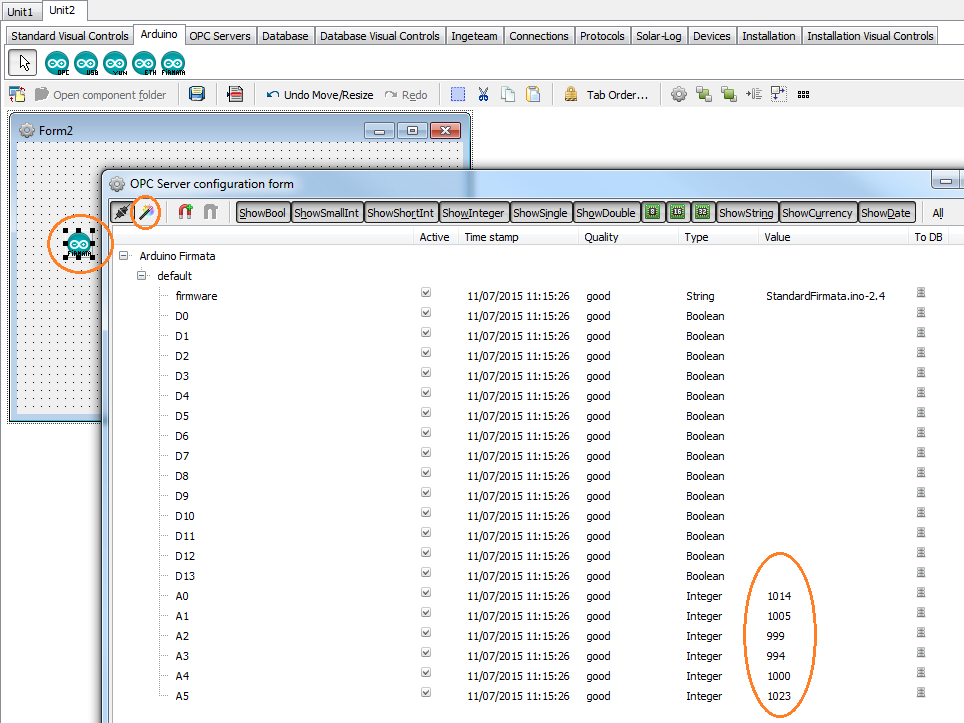
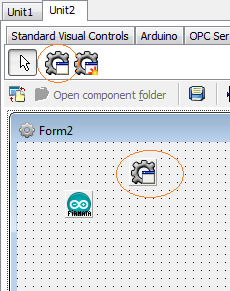
Double click Arduino Firmata component and press the wizard to retrieve automatic pin configuration.
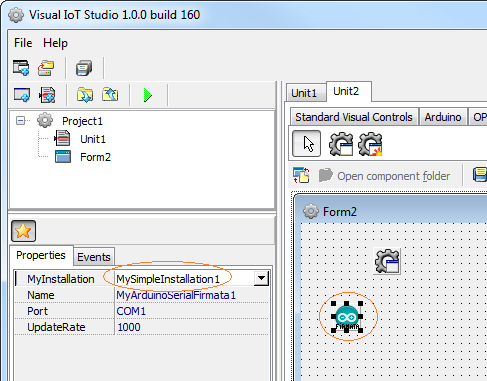
Put a generic installation component
Connect the Arduino Firmata component to the installation component
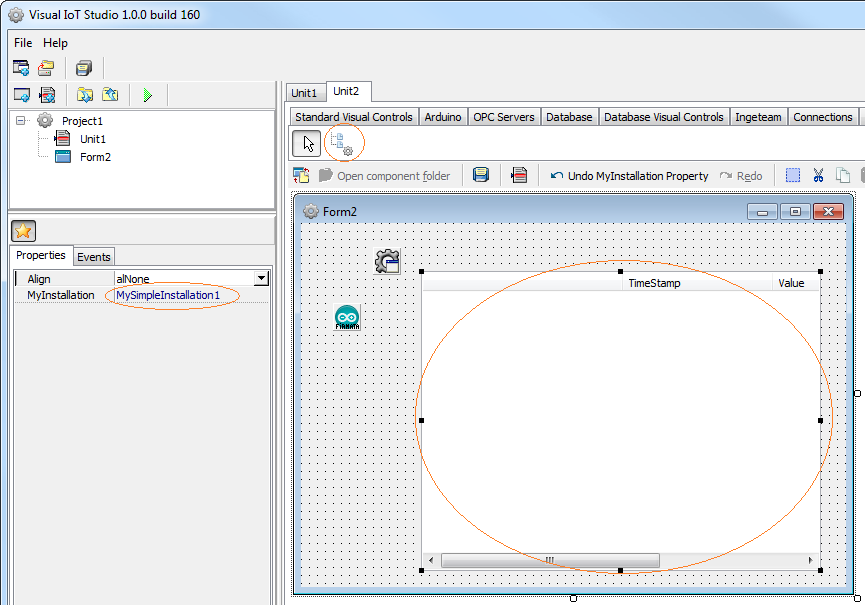
Add a visual installation component and connect it with the installation component
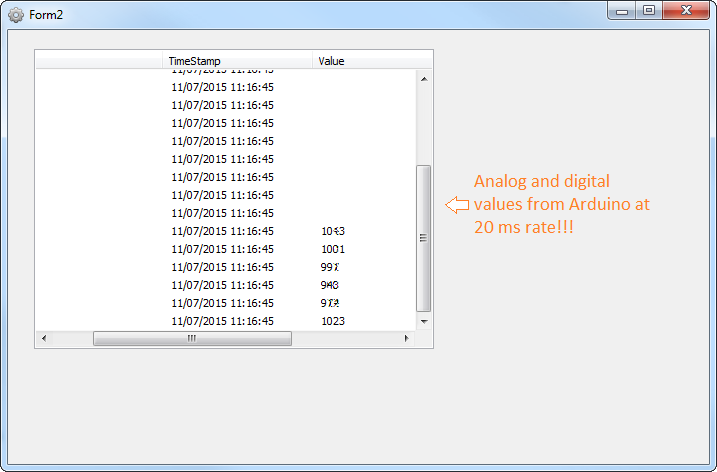
Run the application you built 🙂